How to Set Up a Tracker for Mediabuyers
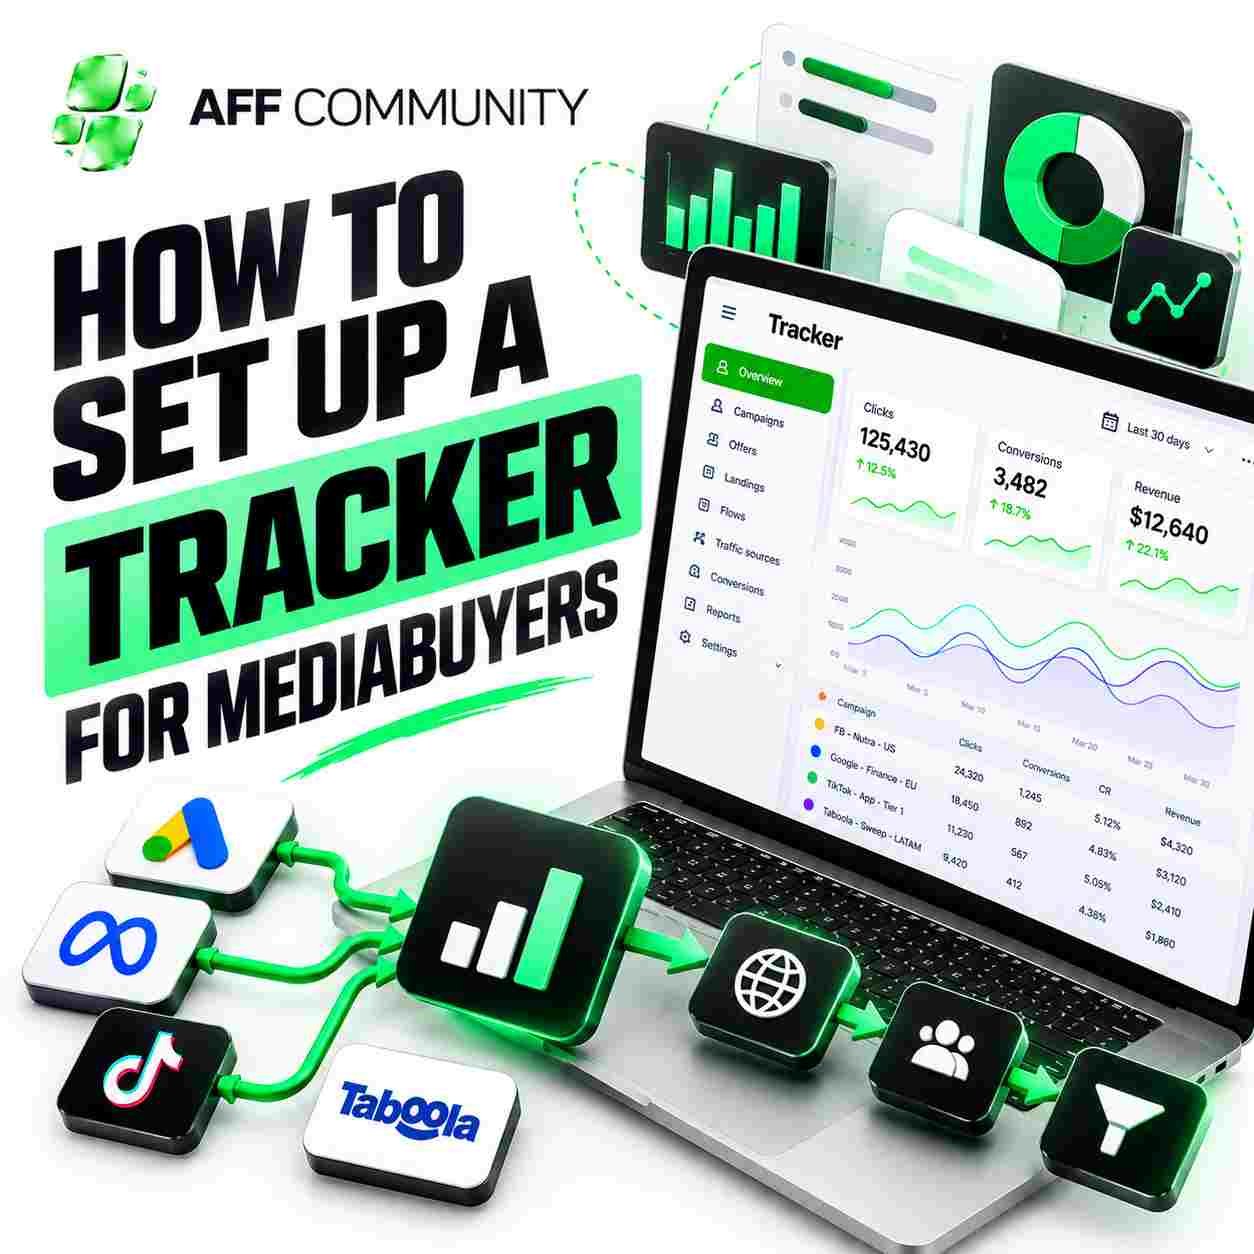
In affiliate marketing, a tracker isn’t just a dashboard with statistics it’s a tool that helps you understand where your budget is going, which ad combinations drive conversions, and where money is being wasted. Without proper setup, a webmaster can see clicks but won’t understand the true cost per lead or the campaign’s profitability.
We’ll walk through the basic tracker setup: from connecting the traffic source and offer to tracking conversions and verifying data before launch.
1. Prepare the campaign structure
Before setting up the tracker, determine what you’ll be promoting and where the traffic will come from. In the tracker, you’ll typically need to add the traffic source, the offer, and if applicable the landing page. These elements are then combined into a campaign.

To get started, prepare the following:
- a link to the offer from an affiliate network;
- the landing page URL, if it’s part of the funnel;
- the traffic source for example, Meta Ads, Google Ads, or a native network;
- tracking parameters and macros supported by the source and affiliate network;
- a domain for tracking links, if required by the selected configuration.
For each campaign, use a clear name that specifies the source, GEO, offer, and the combination being tested. When you have many campaigns, a consistent structure helps you find the reports you need more quickly.
2. Set up parameter tracking

The tracker’s main task is to link a user’s click to subsequent actions. To do this, click IDs, UTM tags, and additional parameters are used, which allow you to segment traffic by campaigns, ads, platforms, and other available dimensions.
You need to check three things:
- The source sends the necessary parameters to the tracker.
- The tracker saves the click ID and forwards it to the affiliate network.
- The macro names match the documentation for the specific source and affiliate networks.
Do not copy parameters from someone else’s configuration without verifying them. Token names may vary across platforms, so using the wrong macro can lead to data loss.
We discussed selecting technical solutions for advertising infrastructure in our article on tools for affiliate marketing and setting up your work environment.
3. Set up postback for conversions
Clicks show the volume of traffic, but to optimize, you need to know which users completed the target action. To do this, configure the transmission of conversions from the affiliate network back to the tracker.
When using S2S postback, the affiliate network sends a request to the tracker after a conversion is recorded. The request must include the click ID, which the system uses to identify the source click. If necessary, the payout and event type are also included.
Setup instructions:
- Copy the postback URL from the tracker.
- Specify it in the affiliate network’s settings or provide it to your account manager, if required.
- Map the click ID in the offer link to the corresponding affiliate network macro.
- If the offer involves multiple stages, configure the transmission of the relevant conversion types separately.
- Verify that the test event appears in the correct campaign.
Use only the parameters supported by your affiliate network and tracker. If the click ID is not returned, the conversion may not be attributed to the original click.
4. Check expenses and analytics
To calculate ROI and profit, it’s not enough to just look at payouts. The tracker must receive or correctly account for advertising costs. If automatic cost reporting is unavailable, in some systems you can import or update costs manually. Before launching, check:
- whether the time zones in the ad dashboard, tracker, and affiliate network match;
- whether clicks and conversions are recorded correctly;
- whether costs and payouts are being transferred;
- whether there are any duplicate events;
- and whether results can be broken down by GEO, devices, campaigns, and ads.
If your metrics suddenly start to diverge, don’t rush to change creativity or disable the traffic source. First, check the technical workflow. Our article on why traffic drops and how to check the tracking chain breaks down common tracking and analytics issues.
5. Test the tracker before running the full budget
Don’t run the full budget until you’ve tested the entire user journey. Open a test link, make sure the click is recorded, the parameters are preserved, and the conversion event is reported.
If you’re using a landing page, also check the transition from it to the offer. It’s important to ensure that the click ID isn’t lost during transitions and redirects.
After launch, continue monitoring traffic quality. The tracker helps identify suspicious spikes in clicks, anomalous conversions, and segments that require further verification. We covered traffic quality control in more detail in our article on fraud protection in affiliate marketing.
Conclusion
Setting up a tracker consists of several key steps: creating a campaign, passing parameters, connecting a postback, tracking expenses, and verifying the entire chain.
We recommend starting with a single test campaign and verifying each stage before scaling up. Proper tracking doesn’t guarantee profit, but without it, a webmaster risks making decisions based on incomplete or erroneous data.

