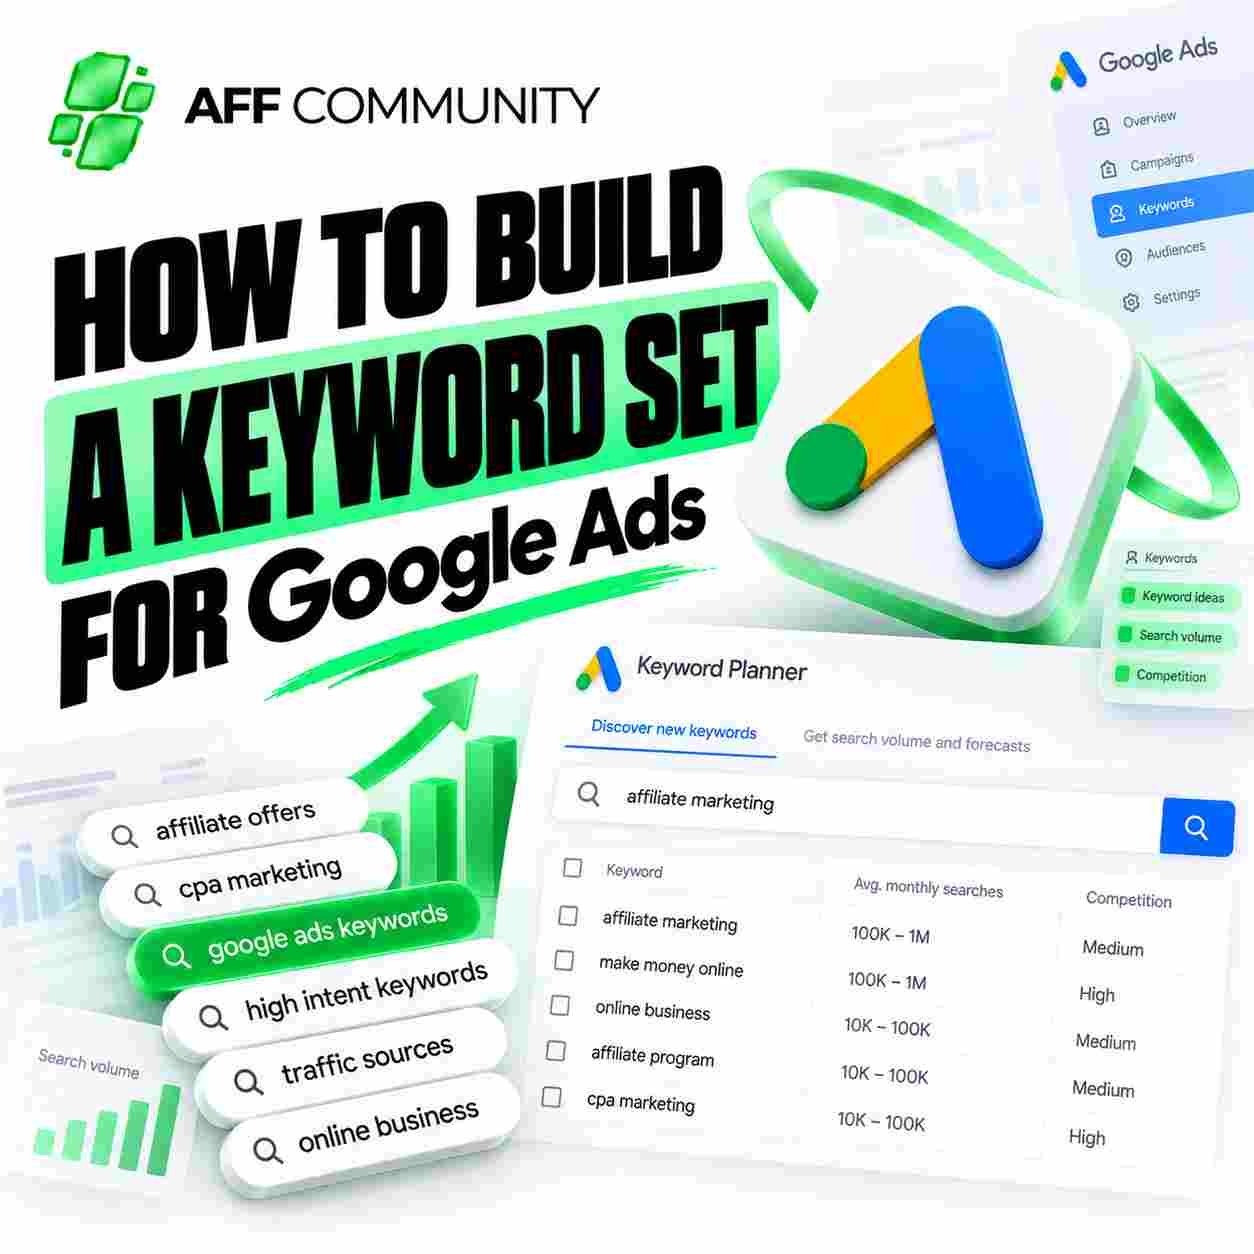
How to Build a Keyword Set for Google Ads

In Google Ads, you can quickly blow through your budget if you build your keyword set based on the “the more, the better” principle. High search volume doesn’t guarantee conversions, and broad keywords can attract an audience that doesn’t need your offer at all.

We’ll break down how to build a semantic network for an affiliate marketing campaign, group keywords, and filter out non-targeted traffic before even launching the campaign.

1. Start with the offer, not with keywords

Before gathering a semantic list, you need to understand exactly what you’re promoting, who the offer is suited for, and what action the user should take. Otherwise, you might end up with thousands of search terms that seem relevant based on the words themselves but don’t align with the audience’s intent.

I’d start with four questions:

  1. What problem does the offer solve?
  2. Who is the potential user?
  3. What is the person looking for before converting?
  4. Which search queries indicate a readiness to take action, and which ones indicate only an interest in the topic?

For example, for a financial management service, search queries like “what is a financial plan” and “financial planning service for businesses” can lead users to different stages of the funnel. The first is more informational, while the second is closer to making a decision.

At this stage, it’s helpful to study the specifics of using Google Ads in affiliate marketing so you can account for the source’s unique characteristics before launching.

2. Build a core set of keywords and expand it
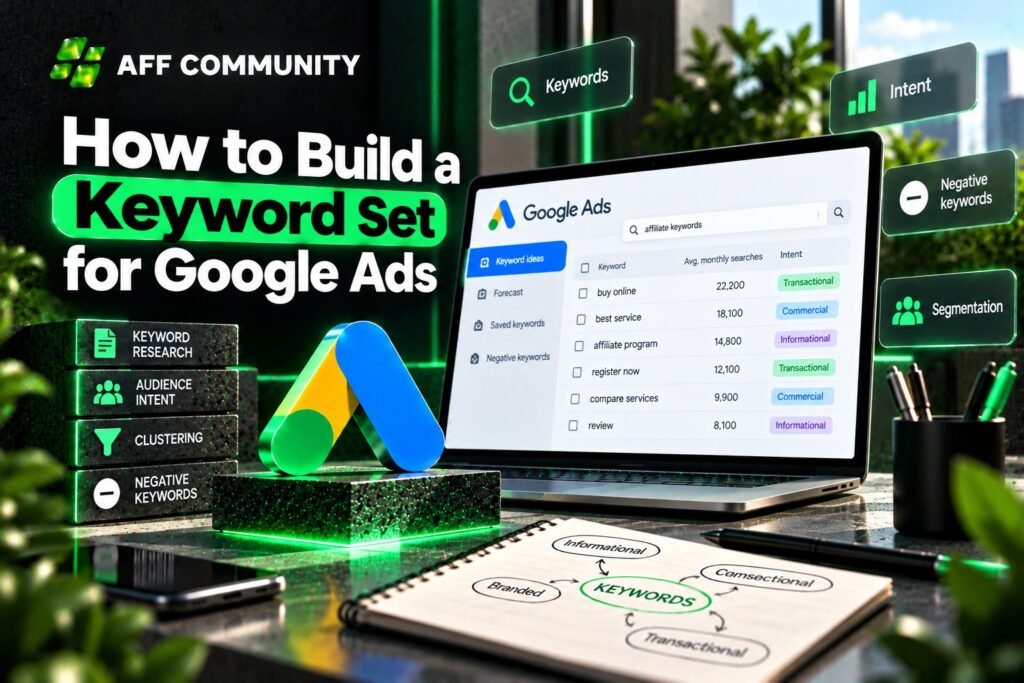
Build keyword set for google ads

For initial keyword gathering, use Google Keyword Planner, search suggestions, competitor analysis, and data from existing campaigns. If traffic has been generated before, be sure to review actual search queries: they often provide ideas that weren’t on the initial list.

Collect not only the main keywords but also various phrasings:

  • the name of the product or service;
  • the problem the offer solves;
  • comparisons of options and alternatives;
  • commercial queries with the intent to buy or sign up;
  • long-tail phrases with specifications regarding location, audience, or characteristics.

Don’t add a keyword just because it has high search volume. Evaluate how well the query aligns with your offer, landing page, and call-to-action. A low-volume phrase sometimes attracts a more engaged audience than a broad term with thousands of impressions.

3. Categorize Queries by Intent

After collecting them, don’t upload the entire list to a single ad group. Cluster the keywords based on meaning and user intent.

For example, you can categorize them as follows:

  1. Informational queries. The user is researching the topic and isn’t yet ready to take action.
  2. Commercial queries. The user is comparing options, looking for reviews, ratings, or alternatives.
  3. Transactional queries. There is a clear intent to order a service, sign up, or purchase a product.
  4. Brand queries. A search for a specific company or product, provided their use is permitted for your campaign.

Select relevant ads and landing pages for each group. If different intents are mixed within a single group, it becomes more difficult to manage relevance and understand which queries actually drive conversions.

4. Don’t forget about negative keywords

Negative keywords help exclude queries for which ad impressions don’t make sense for a specific offer. For example, if you’re promoting a paid service, words like “free,” “download,” or “job openings” may be off-target but only if they truly don’t align with your business model.

Don’t copy someone else’s negative keyword list without verifying it first. The same word in different niches can either filter out irrelevant traffic or block useful traffic.

After launching your campaign, regularly check the Search terms report in Google Ads. It shows the actual search terms that triggered impressions and clicks. You can exclude irrelevant phrases and add promising ones to your semantic group to test them separately.

5. Choose Match Types and Review the Structure

Google Ads uses broad, phrase, and exact match types. They determine in different ways which search queries can trigger an ad.

Don’t assume that exact match always means a literal match, or that broad match automatically yields only irrelevant results. It’s important to monitor actual search queries, results, and bid settings.

At the start, you can separate the most important commercial keywords from broader hypotheses to make it easier to analyze results. Then adjust the structure based on data, not just assumptions.

When working with Google Ads, it’s important to consider not only semantics but also the quality of the entire campaign. We’ve covered separately the mistakes that lead to wasting your budget in Google Ads.

6. Check semantics after launch

Keyword research doesn’t end when you create a campaign. After launch, look at the actual metrics:

  • CTR — how well the ad matches the search query;
  • CPC — how much each click costs;
  • CR — what percentage of clicks converts to the target action;
  • CPA and ROI — how much a result costs and whether the ad group is profitable.

If you’re getting clicks but no conversions, don’t rush to expand the core. Check the search queries, how well the ad matches the landing page, the quality of traffic, and whether conversions are being tracked correctly.

For a systematic approach to search queries and keyword grouping, you can also review SEO strategies and principles for building a semantic core. SEO and PPC approaches aren’t identical, but logical grouping by meaning is useful in both cases.

Conclusion

Good semantics for Google Ads isn’t about having the longest list of keywords, but rather a set of queries that match the offer and the user’s intent. First, analyze the offer, gather query options, categorize them by intent, and prepare negative keywords. After launching the campaign, regularly analyze “Search terms” and keep only those that drive high-quality traffic.

We recommend building your keyword strategy as a working system that can be refined based on data. This makes it easier to identify promising clusters, control costs, and scale campaigns without unnecessarily expanding your reach.
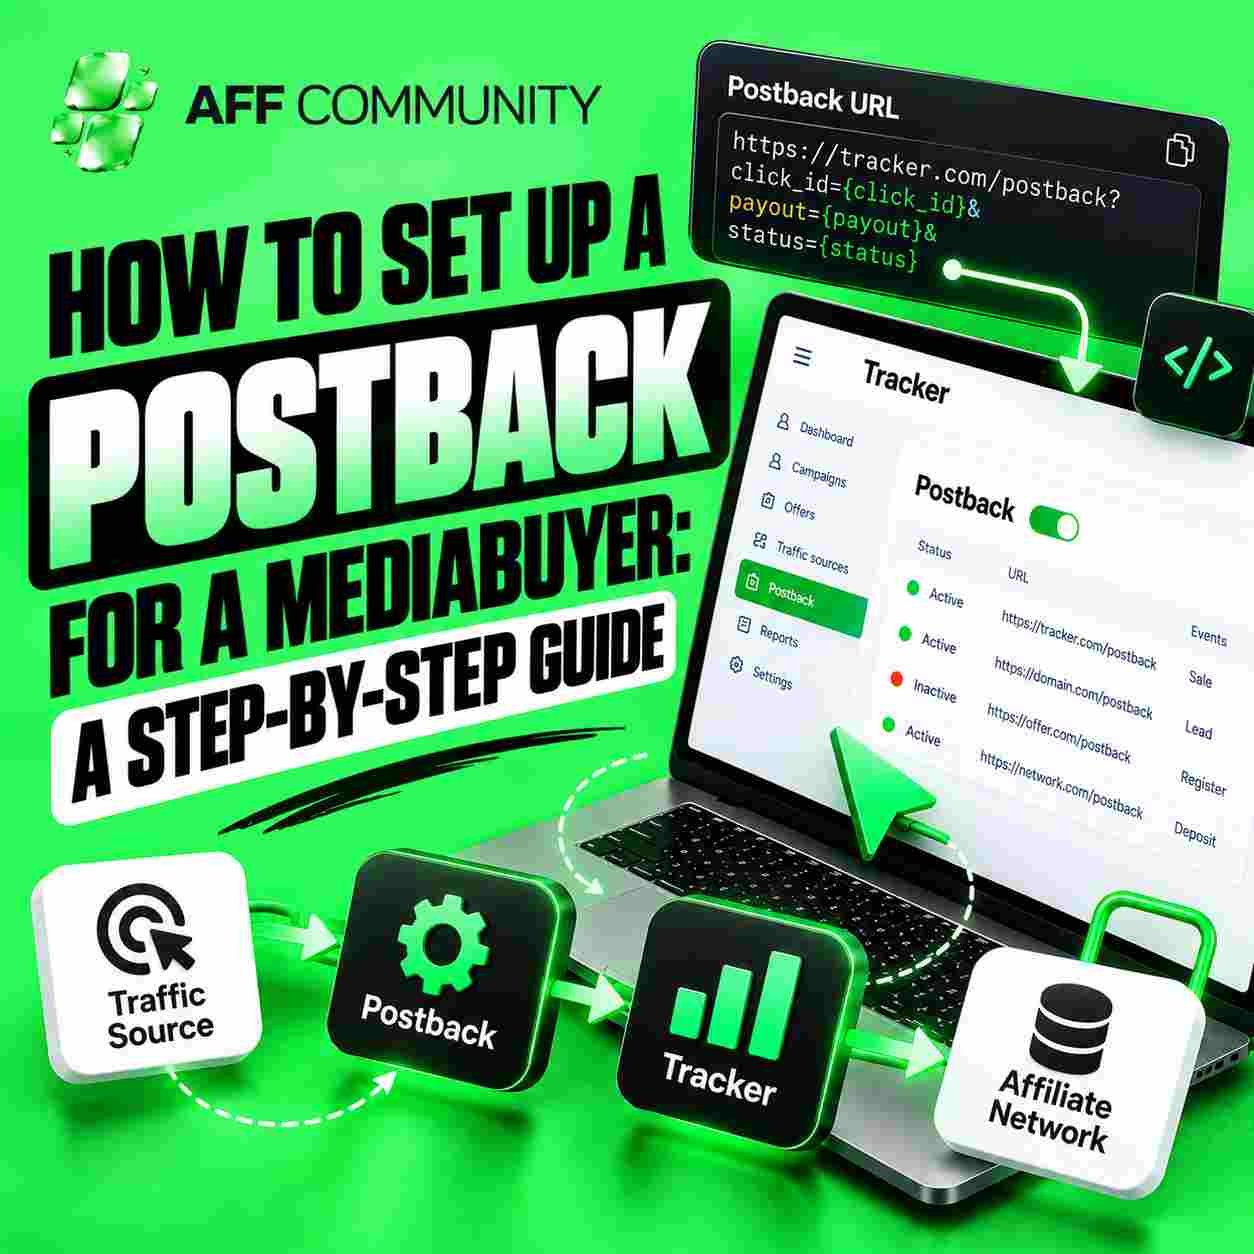
How to Set Up a Postback for a Mediabuyer: A Step-by-Step Guide

In affiliate marketing, it’s not enough to simply see how many clicks an offer received. You need to understand which of those clicks converted into leads, sign-ups, purchases, or deposits. Without this information, a webmaster risks pausing a successful campaign or continuing to spend the budget on traffic that doesn’t generate revenue.

We’ll walk through how to set up a postback, connect an affiliate network to a tracker, and verify that conversions are being reported correctly.

What Is a Postback and Why Is It Needed

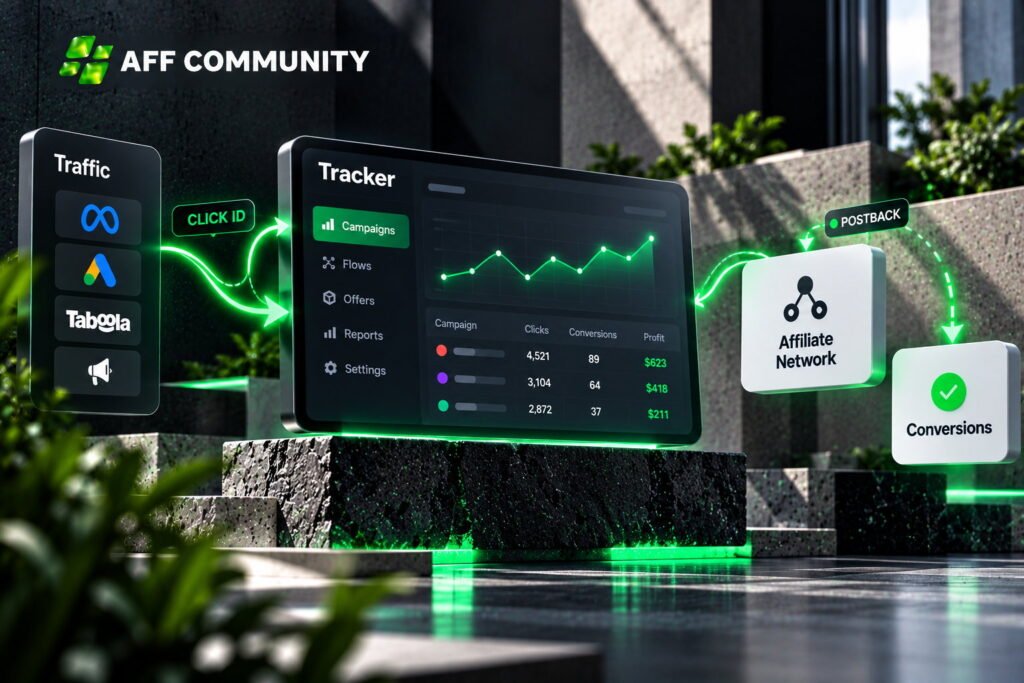
A postback is a server-side request that one system uses to send information about a completed action to another system. For example, a user registered after clicking an affiliate link, and the CPA network sent a notification to the tracker.

Postback set up in affiliate marketing

Unlike a pixel, server-side transmission does not depend directly on the page loading in the browser. However, it also does not guarantee perfect statistics: if the click ID is lost or the parameters are configured incorrectly, the conversion may not be attributed to the correct click. A postback helps:

  • view conversions in the tracker;
  • match results with sources, campaigns, and ads;
  • analyze lead cost and profit;
  • send events to the ad platform for optimization, if the integration supports it.

That said, a postback alone does not improve conversion rates or reduce costs. It transmits data that the webmaster uses to make decisions.

What to Prepare Before Setup

To get started, you’ll need three things:

  1. Tracker. Keitaro, Binom, BeMob, Voluum, or another system where you track clicks and conversions.
  2. Affiliate link. It must contain a unique click identifier the Click ID. This is what helps link a user’s action to a specific click.
  3. Postback URL. You’ll need to obtain this from your tracking tool or in the integration settings. This is the address to which the affiliate network will send conversion data.

If you haven’t set up the technical infrastructure yet, you should first familiarize yourself with the main tools and their roles in the system we covered them in our article on technical tools for webmasters.

How to Set Up a Postback: A Step-by-Step Guide

Step 1. Find the Postback URL in the Tracker

Open the tracker settings and locate the section for affiliate network integration or conversion tracking settings. Depending on the platform, it may be labeled “Postback URL,” “Conversion Tracking,” or “S2S.”

Copy the provided template. It usually already includes the parameters the tracker expects to receive, such as the click ID, payout, and conversion status.

Sample example: https://tracker.example/postback?clickid={click_id}&payout={payout}

This is just a template, not a fully functional URL. You’ll need to take the domain, parameter names, and macros from your tracker.

Step 2. Pass the Click ID to the affiliate network

Now open the offer settings and check the link that will take the user to the landing page. You’ll need to add a parameter to this link through which the tracker will pass the Click ID to the affiliate network.

For example, the tracker might use the {clickid} macro, while the network might use its own parameter, such as subid or click_id. It’s important not to guess the names: check the documentation for both systems and find the exact match.

If the identifier isn’t sent to the affiliate network, the network may still record the conversion, but the tracker won’t be able to correctly associate it with the original click.

Step 3. Set up the postback in the affiliate networks

Log in to your affiliate network dashboard and find the S2S or Postback settings. Paste the URL you received from the tracker and replace the variables with the affiliate networks’ macros.

Check the three main parameters:

  1. Click ID –  the click identifier received from the tracker;
  2. Payout –  the conversion payout, if the network passes this value;
  3. Status / Event –  the type or status of the action, if supported by the integration.

Macro syntax varies across networks. Sometimes the status is passed as a single value, while other times different postback settings are required for registration, deposit, and confirmed sales.

Do not change the names of the parameters expected by the tracker unless the integration documentation specifically allows it.

Step 4. Configure the traffic source

If you also want to send conversions to an ad network, check whether your tracker supports this integration. This may require a separate postback or a built-in traffic source template.

In the campaign settings, you typically specify the advertising platform’s Click ID macro so that the identifier travels through the entire chain. Simply setting up a postback between the affiliate network and the tracker does not mean that the ad network is already receiving events.

Step 5. Verify Conversion Tracking

Don’t launch a large budget until you’re sure the integration is working. Click the tracking link to test it and check:

  • Whether the click was logged in the tracker.
  • Whether the Click ID was passed to the affiliate network.
  • Whether a test conversion appeared in the tracker.
  • Are the payout and status displayed correctly?
  • Is a single action being counted twice?

If the test conversion doesn’t appear, first check the Click ID, macro compatibility, and the request log in both systems. Also make sure that the test event is actually being sent by the affiliate network: not every offer allows you to manually create a conversion.

Common postback configuration errors

Incorrect macro. The URL contains a parameter that the affiliate network does not support. As a result, an empty value or the literal text of the macro is sent instead of the actual ID.

The Click ID is lost along the way. Check whether the identifier is preserved when moving between the tracker, the pre-landing page, and the offer.

Mismatched statuses. The affiliate networks may send pending, approved or rejected while the tracker expects different values. Because of this, statistics on confirmed conversions may differ.

Duplicate events. For example, a single action is reported by multiple integrations. Check the deduplication settings and transaction IDs, if available.

Don’t jump to conclusions too soon. First, compare test events; then, compare statistics for the same time period. If there are discrepancies, check for lead confirmation delays and the affiliate network’s tracking rules.

A technical error isn’t the only reason for poor results: it’s important to analyze the other elements of the funnel as well. We’ve covered ad creativity errors and their impact on ROI separately.

Conclusion

Configuring postbacks boils down to three main tasks: transmitting the Click ID, correctly mapping macros, and verifying conversion receipt. If data flows through the entire chain without loss or duplication, the tracker becomes a useful tool for analyzing campaigns and making decisions.

Once the integration is working, you can move on to optimization: comparing sources, identifying effective segments, and disabling unprofitable placements. We’ve written about other approaches to managing traffic in our article on ways to increase website traffic.

The main rule: don’t assume the postback is configured just because the URL has been saved. The setup is complete when the test action is correctly displayed in the target system.

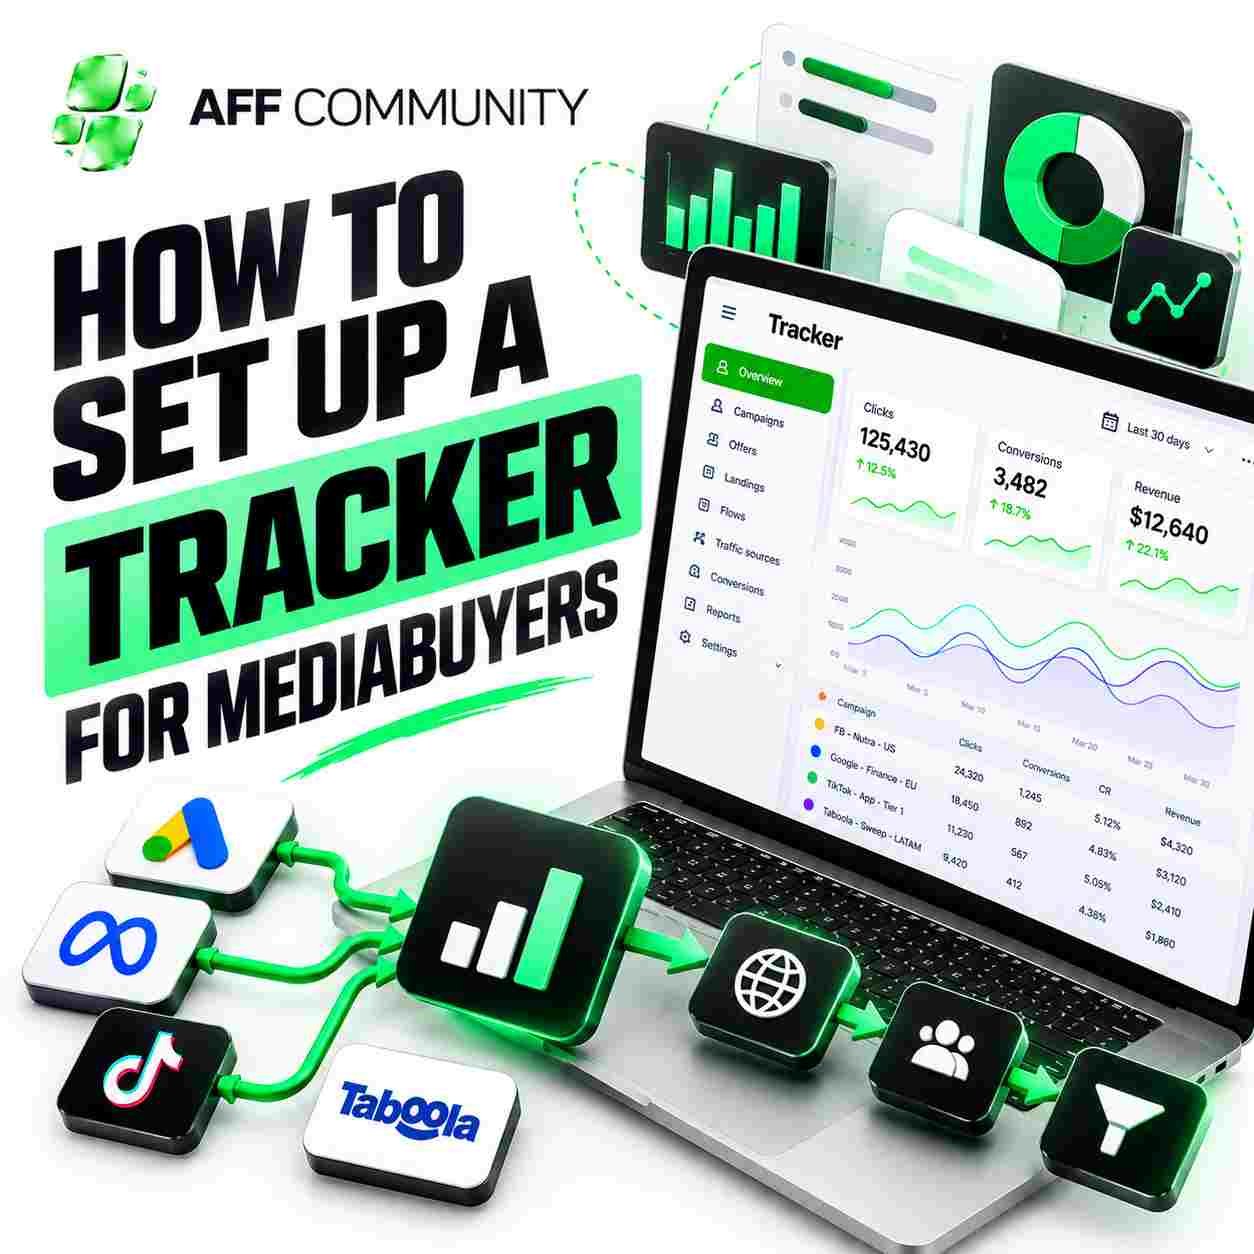
How to Set Up a Tracker for Mediabuyers

In affiliate marketing, a tracker isn’t just a dashboard with statistics it’s a tool that helps you understand where your budget is going, which ad combinations drive conversions, and where money is being wasted. Without proper setup, a webmaster can see clicks but won’t understand the true cost per lead or the campaign’s profitability.

We’ll walk through the basic tracker setup: from connecting the traffic source and offer to tracking conversions and verifying data before launch.

1. Prepare the campaign structure

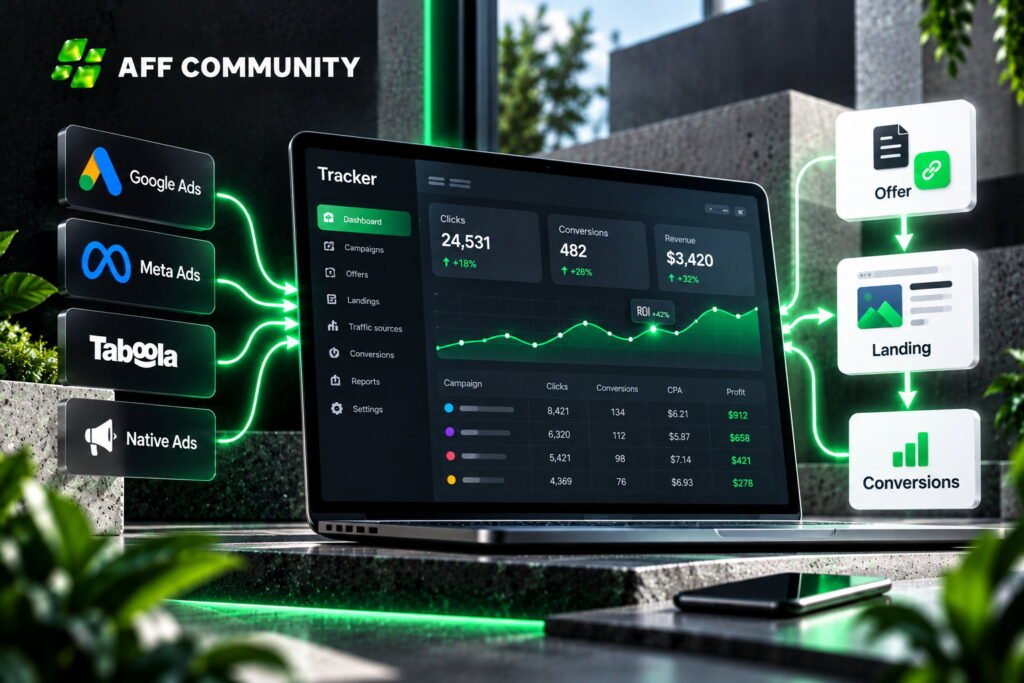
Before setting up the tracker, determine what you’ll be promoting and where the traffic will come from. In the tracker, you’ll typically need to add the traffic source, the offer, and if applicable the landing page. These elements are then combined into a campaign.

To get started, prepare the following:

  • a link to the offer from an affiliate network;
  • the landing page URL, if it’s part of the funnel;
  • the traffic source for example, Meta Ads, Google Ads, or a native network;
  • tracking parameters and macros supported by the source and affiliate network;
  • a domain for tracking links, if required by the selected configuration.

For each campaign, use a clear name that specifies the source, GEO, offer, and the combination being tested. When you have many campaigns, a consistent structure helps you find the reports you need more quickly.

2. Set up parameter tracking

The tracker’s main task is to link a user’s click to subsequent actions. To do this, click IDs, UTM tags, and additional parameters are used, which allow you to segment traffic by campaigns, ads, platforms, and other available dimensions.

You need to check three things:

  1. The source sends the necessary parameters to the tracker.
  2. The tracker saves the click ID and forwards it to the affiliate network.
  3. The macro names match the documentation for the specific source and affiliate networks.

Do not copy parameters from someone else’s configuration without verifying them. Token names may vary across platforms, so using the wrong macro can lead to data loss.

We discussed selecting technical solutions for advertising infrastructure in our article on tools for affiliate marketing and setting up your work environment.

3. Set up postback for conversions

Clicks show the volume of traffic, but to optimize, you need to know which users completed the target action. To do this, configure the transmission of conversions from the affiliate network back to the tracker.

When using S2S postback, the affiliate network sends a request to the tracker after a conversion is recorded. The request must include the click ID, which the system uses to identify the source click. If necessary, the payout and event type are also included.

Setup instructions:

  1. Copy the postback URL from the tracker.
  2. Specify it in the affiliate network’s settings or provide it to your account manager, if required.
  3. Map the click ID in the offer link to the corresponding affiliate network macro.
  4. If the offer involves multiple stages, configure the transmission of the relevant conversion types separately.
  5. Verify that the test event appears in the correct campaign.

Use only the parameters supported by your affiliate network and tracker. If the click ID is not returned, the conversion may not be attributed to the original click.

4. Check expenses and analytics

To calculate ROI and profit, it’s not enough to just look at payouts. The tracker must receive or correctly account for advertising costs. If automatic cost reporting is unavailable, in some systems you can import or update costs manually. Before launching, check:

  1. whether the time zones in the ad dashboard, tracker, and affiliate network match;
  2. whether clicks and conversions are recorded correctly;
  3. whether costs and payouts are being transferred;
  4. whether there are any duplicate events;
  5. and whether results can be broken down by GEO, devices, campaigns, and ads.

If your metrics suddenly start to diverge, don’t rush to change creativity or disable the traffic source. First, check the technical workflow. Our article on why traffic drops and how to check the tracking chain breaks down common tracking and analytics issues. 

5. Test the tracker before running the full budget

Don’t run the full budget until you’ve tested the entire user journey. Open a test link, make sure the click is recorded, the parameters are preserved, and the conversion event is reported.

If you’re using a landing page, also check the transition from it to the offer. It’s important to ensure that the click ID isn’t lost during transitions and redirects.

After launch, continue monitoring traffic quality. The tracker helps identify suspicious spikes in clicks, anomalous conversions, and segments that require further verification. We covered traffic quality control in more detail in our article on fraud protection in affiliate marketing.

Conclusion

Setting up a tracker consists of several key steps: creating a campaign, passing parameters, connecting a postback, tracking expenses, and verifying the entire chain.

We recommend starting with a single test campaign and verifying each stage before scaling up. Proper tracking doesn’t guarantee profit, but without it, a webmaster risks making decisions based on incomplete or erroneous data.

The Best Tools for A/B Testing Landing Pages

In affiliate marketing, even a small change to a landing page can affect conversion rates. A new headline, a different button, or a shortened sign-up form can sometimes generate more profit than yet another attempt to find a cheap traffic source.

We recommend not relying on intuition, but rather testing hypotheses on real users. This requires A/B testing and a service that helps you properly split traffic between page versions and compare the results.

What Is A/B Testing for Landing Pages

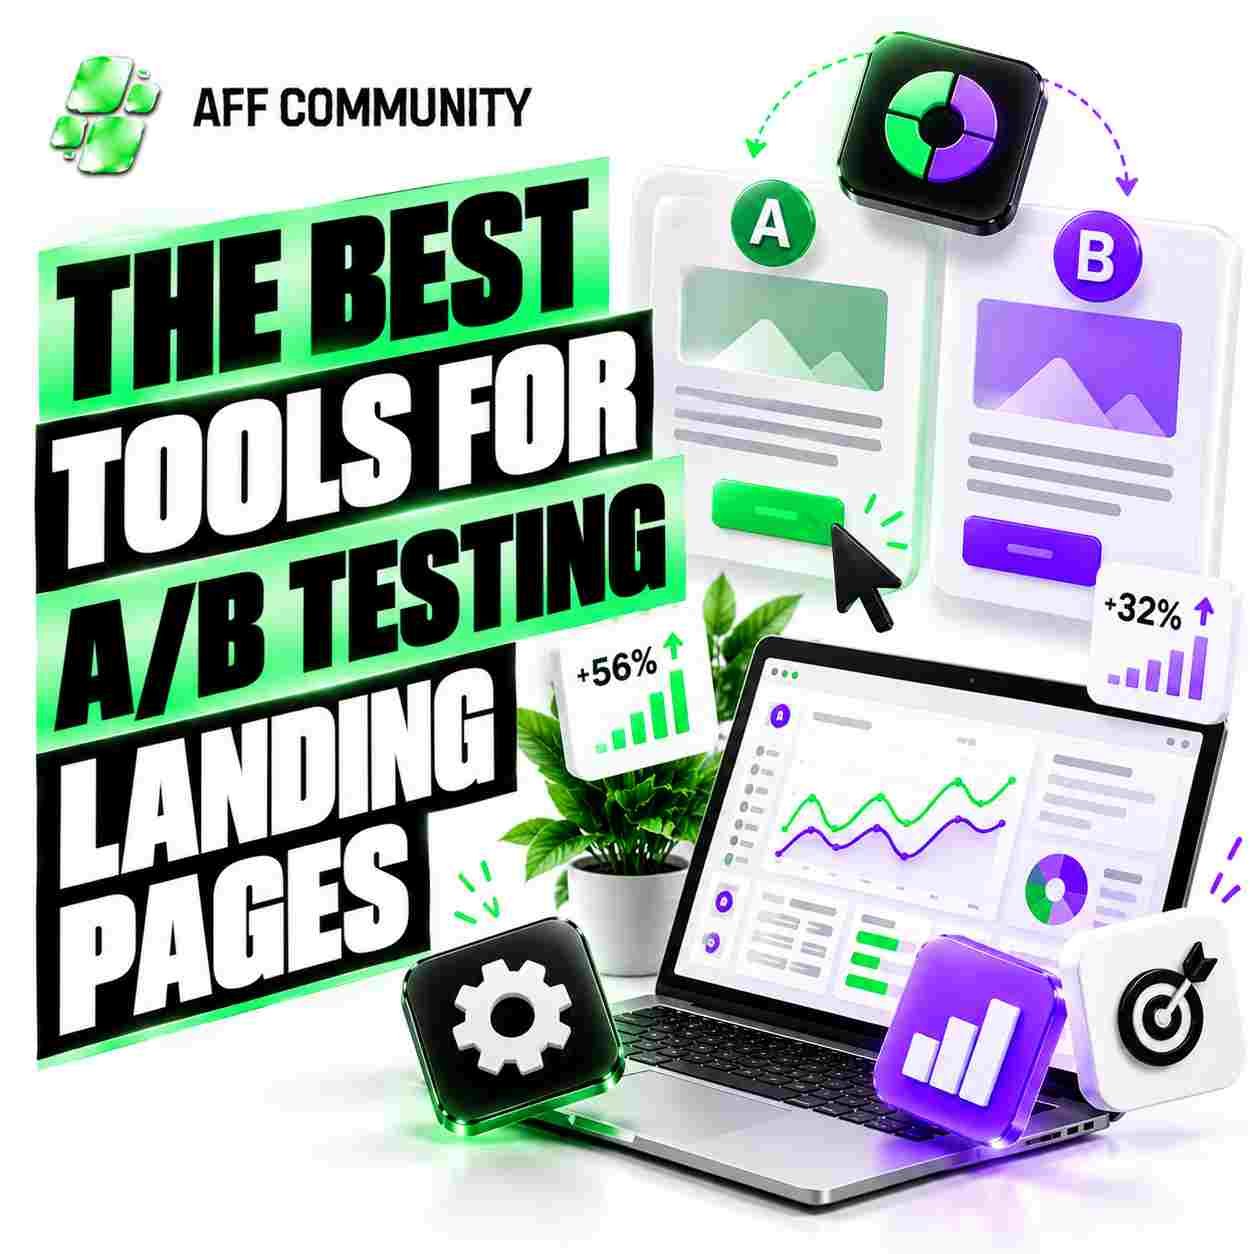
An A/B test is an experiment in which users are randomly assigned to one of two page versions. Version A usually serves as the control, while version B contains the change being tested.

A/B testing landing pages

For example, you can compare two headlines, the placement of a form, the text on a CTA button, or different versions of the first screen. It’s important to define the primary metric in advance: conversion to a lead, a purchase, or another desired action.

If you change everything at once, it will be difficult to determine exactly what influenced the result. Therefore, we recommend testing specific hypotheses and considering not only the number of conversions but also the quality of leads. The basic principles for evaluating results are outlined in the article on conversions in advertising.

The Best Services for A/B Testing

1. VWO

VWO is a platform for website and user experience experiments. It supports A/B testing, split URL testing, multivariate experiments, and user behavior analysis. It includes tools for working with different audience segments.

This service is ideal for teams that need not only to compare landing page variations but also to study visitor behavior. Features and current pricing are available on the official VWO website.

2. Unbounce

Unbounce combines a landing page builder with experimentation tools. It’s a convenient option for marketers and webmasters who want to quickly create landing page variations without constantly involving a developer.

The service is particularly useful for testing advertising hypotheses: you can test different page variations and optimize them for paid traffic. For more details, visit the official Unbounce A/B testing page.

3. Optimizely

Optimizely Web Experimentation is designed for more complex experiments and teams that prioritize audience segmentation, integrations, and centralized test management.

It makes sense to consider this tool when experiments are conducted regularly and landing pages are just one part of a broader optimization system. Before making a choice, evaluate the implementation cost and the availability of the features required for your specific project.

4. Convert Experiences

Convert Experiences is a specialized platform for A/B testing and web page experiments. It’s worth considering if you need a standalone tool to test hypotheses without switching to a large enterprise system.

Before purchasing, compare pricing plan limitations, the volume of traffic you can test, integrations, and available experiment methods. It’s best to check the current terms directly with the provider.

5. Google Analytics 4 in conjunction with a testing platform

GA4 is useful for analyzing visitor behavior and tracking events, but it is not a direct replacement for a full-fledged tool for running A/B tests. Google Optimize was discontinued on September 30, 2023, so it is no longer possible to build a new testing workflow using it. Google lists third-party integrations, including VWO, Optimizely, and AB Tasty. Source: Google Analytics Help.

Which Service Should a Webmaster Choose?

The choice depends on your goals and technical capabilities:

  1. Need to quickly test landing pages without a developer—start with Unbounce if its builder and pricing plan suit your needs.
  2. Need experiments and user behavior analysis—explore VWO’s capabilities.
  3. Have a development team and a complex experiment system—consider Optimizely.
  4. Need a dedicated tool for testing pages—compare Convert Experiences with alternatives in terms of cost and limitations.

Don’t choose a service based solely on the number of features. It’s more important that it works correctly with your landing page, doesn’t break conversion tracking, and allows you to analyze the events you need.

How to Conduct A/B Tests Without Wasting Your Budget

We recommend following a simple process:

  1. Identify a bottleneck. For example, users actively click on ads but rarely submit a request.
  2. Formulate a hypothesis. Speculate on what change might improve the result and why.
  3. Change one key element. This makes it easier to link the result to a specific change.
  4. Choose a metric in advance. Don’t switch between metrics in search of the one that looks better.
  5. Wait until you have enough data. A few conversions don’t guarantee you’ve found a winner.
  6. Check lead quality and ROI. An increase in conversion rate doesn’t always mean an increase in profit if the new leads convert to sales at a lower rate.

Also consider the ad source, device, and GEO. A change that improved conversion on mobile devices may not yield the same results on desktop. And you can draw ideas for testing headlines and visual elements from the practice of creating and testing ad creativity.

That said, testing the landing page is only part of the funnel. If users get lost after submitting a lead or if leads aren’t processed properly, changing the page alone won’t be enough. We explored this topic in more detail in our article on optimizing traffic processing and increasing conversion rates.

Conclusion

A/B testing helps you make decisions based on data rather than subjective impressions. For small projects, simplicity and speed of implementation are key; for large teams, flexibility, segmentation, and in-depth analytics are essential.

Start with a single clear hypothesis, test it on a sufficient volume of traffic, and evaluate its impact on bottom-line profit. It is precisely this approach that helps improve landing pages systematically, rather than turning every test into yet another waste of budget.

How to do automatization setup in affiliate marketing?

Process automation allows you to expand your business and simplify its management. Many companies today are eager to automate the simplest business processes. This allows them to spend more time on more serious things. This trend is also seen in modern affiliate marketing. How to set up automatization, what programs can be used for this?

What is automatization, how is it used?

Traffic automatization is a mass customization, when advertising is launched from several accounts at once, not from one account. Automatization is set up with the help of the corresponding software, which provides partial automation of the run.

Automatization of affiliate marketing does not provide full automation and does not do all the work for the webmaster. Even when using this function, the webmaster has to deal with consumables, control the budget, interact with a design specialist. Automatization is just a software with the help of which it is more convenient to work with two or several accounts at once.

With automatization, webmasters automatically perform the following actions:

  • launch advertising campaigns, stop them, make necessary changes;
  • monitor data on all campaigns, accounts and other indicators;
  • run and fill accounts;
  • link card data, merge accounts with each other;
  • interact with limits, user comments, ads;
features_of_automatization_customization

Customization Features

The run when using different tools has similar customization features. Let’s take Dolphin as an example. First, you should stock up on the necessary consumables: cards, proxies, the required number of accounts. After that, you can proceed to the run itself.

First, you should add an account. In the “Ads Manager” you need to go to the “Accounts” tab. Then you should add an account through the token, and attach a proxy to it. If you want, you can add the desired number of accounts by selecting the appropriate item.

Having done this, you will be able to manage the accounts, sort them by the filters you need. You will also be able to select them with a checkbox and do the following:

  1. Bind the desired number of cards, set limits on the number of accounts on the card.
  2. Manage balance.
  3. Change name, create pixels, manage notifications, delete accounts.
  4. Perform automation.
  5. Create VMs, Fan Pages. They can be done in 1 click for a number of accounts at once. You can create a description, customize content, upload photos. You can not only create, but also link an account to an existing VM.

Follow the news about affiliate marketing in our blog.

Having set up the accounts, proceed to run. To do this, select “Run ads”, go to “Bindings”, after it click on “Create Binding”.

Then choose the name of the ad campaign, its budget and purpose, specify the target audience, geo. You can also create text content for your future creativity.

Go to “Run bundles” and specify the desired one. Also select the accounts from which you will launch campaigns using this bundle. Upload the creativity and specify the accounts.

After that, the automatization process ends. After that, the campaigns will be sent for moderation. You will be able to monitor and edit them using the Ads Manager.

If you want, set up automation. Create the number of rules you need in the section called “Auto-rules”. Specify the necessary parameters: rule name, object, schedule, time period.

You can familiarize yourself with the comments left by users under your ads in the section of the same name. There, you can also customize stop words. User comments that contain them will be automatically deleted after a certain period of time.

In the “Tracker” section you will be able to see the status of leads, get a link for integration with affiliate networks and postback settings.

You can access the technical functions in the “Settings” menu. Here you will find:

  • link generator;
  • tokens, API keys for integrations;
  • the ability to enable auto-publishing of FPs, automatic updating of FB accounts, automatic checking of rejected ads.

The functionality also includes a “Profile.” By entering it, you will be able to customize rates, access, withdraw earned money from affiliate networks, change your personal data. In the “Proxies” section, you can download proxies separately from your accounts and then use them.

The list of actual offers is available on the “Affiliate networks” 

Conclusion

Using the automatization function allows a webmaster to significantly simplify his activity by automating part of the processes. This is very convenient, as the saved time can be spent on more important things.

Automatization in affiliate marketing: the best tools and solutions

In recent years, automation has been seeping more and more into various industries. Affiliate marketing has not ignored it either. In conditions when people have to solve many tasks on a daily basis, such a tool is seen as a true salvation.

It is important to understand not only what is automatization in affiliate marketing. It is necessary to get into the essence of this process.

How is traffic distribution optimized?

The goal of the process is to direct visitors to the right pages (landing pages). This is done to increase revenue. Optimization requires special software platforms. They perform redirection according to the parameters set by the webmaster. In particular: traffic source, device used, geolocation.

How to automatically optimize an advertising campaign?

You need a tool that will perform customization based on the performance of creativity and lendings without assistance. A vivid example of such a solution is machine learning. Algorithms automatically analyze data. Regularities are identified. Decisions are made on their basis. The program itself can change the target audience, rates, various parameters of the advertising campaign. Actions are taken to achieve the set goal.

About antifraud

Modern automation tools are designed to reduce the time and resources for resolving disputes. But when working with them, you can often encounter fraud or data distortion.

Antifraud are designed to eliminate these risks . These are complex tools that are based on artificial intelligence. They allow you to identify manipulations with information and suspicious actions.

Antifraud systems are needed to verify the reliability of data. A machine comparison with available templates is performed. There are databases for them. This helps to identify distortions and manipulations.

smartlink

Smartlink

This tool is designed for analyzing large amounts of data. Prompt and maximally accurate detection of patterns takes place. It checks the user who clicks on the link. On its basis, an appropriate offer is selected. We recommend Trafee Affiliate Network with Smartlink system.

Changing a campaign in automatic mode

Automatic customization takes place. After that the task is assigned to special algorithms. They monitor the progress of the campaign and make adjustments. All decisions are made independently, the user does not participate in this process.

This solution helps to save time and energy. There is no need to constantly monitor the process. Algorithms work on the basis of statistics, which significantly increases their effectiveness.

Metrics transfer

It is carried out using specialized software that automatically collects and processes data on traffic, conversions, revenue and other key points of effectiveness of advertising campaigns. This allows webmasters to avoid the need to manually calculate or analyze information.

Metrics transfer systems quickly identify problem areas in campaign performance. They help in taking timely action to correct them.

Data Generation

Data Generation

Includes specialized methods required for social media registration and bank card usage. Certain programs are capable of automatically scanning online resources, collecting texts, statistics and other useful information needed to generate justifications.

One of the tools are expert systems, which are based on a set of rules and knowledge in a particular field. These systems are able to automatically make decisions based on given conditions or collected data.

Traffic tools

Tracker is an analytics system that allows you to monitor and analyze data about website traffic or the progress of an advertising campaign. With this tool, you can identify traffic sources, investigate which pages users view, and calculate the length of time they stay on the site.

SPY-services are programs that monitor the actions of competitors in the online space. They analyze the advertising campaigns of competitors, identify the anchors and ads used, and evaluate the effectiveness of these strategies. The data obtained allows you to optimize your own advertising and increase the conversion rate.

Anti-Detect Browser is another tool that fights bot detectors. They determine whether the site visitor is a real or automated program. Anti-detect browser imitates the actions of a live user, which allows him to bypass security systems and access content or resources that are inaccessible to bots.